Create Electronic Requests (for Depot Locations)
IN THIS ARTICLE
Is this the right article for you?
Submitting a Stock Request looks different based on the type of location you use.
-
If your screen looks like this, then this is the right article for you!
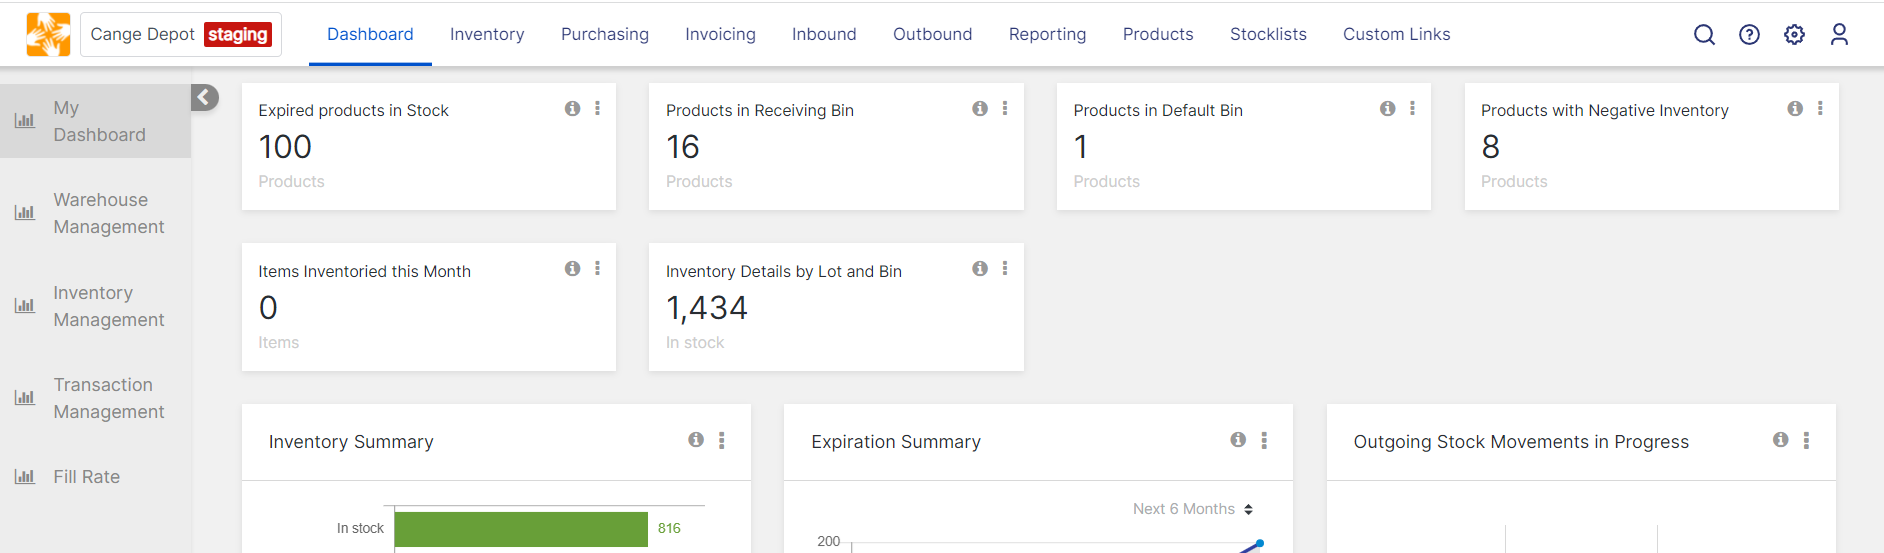
This is a dashboard for a location that also manages its inventory using OpenBoxes, i.e. a Depot location. OpenBoxes will automatically pull your inventory details for the items you request.
-
If your screen looks like this, then use this article instead: Create Electronic Requests (for Non-Depot Locations)


Create Stock Request
-
Log into the Depot location that you want to request stock for.
From the Top Menu Bar, Click on Inbound > Create Stock Request.

Create Stock Request On the Create Page, Enter information for the Requisition.
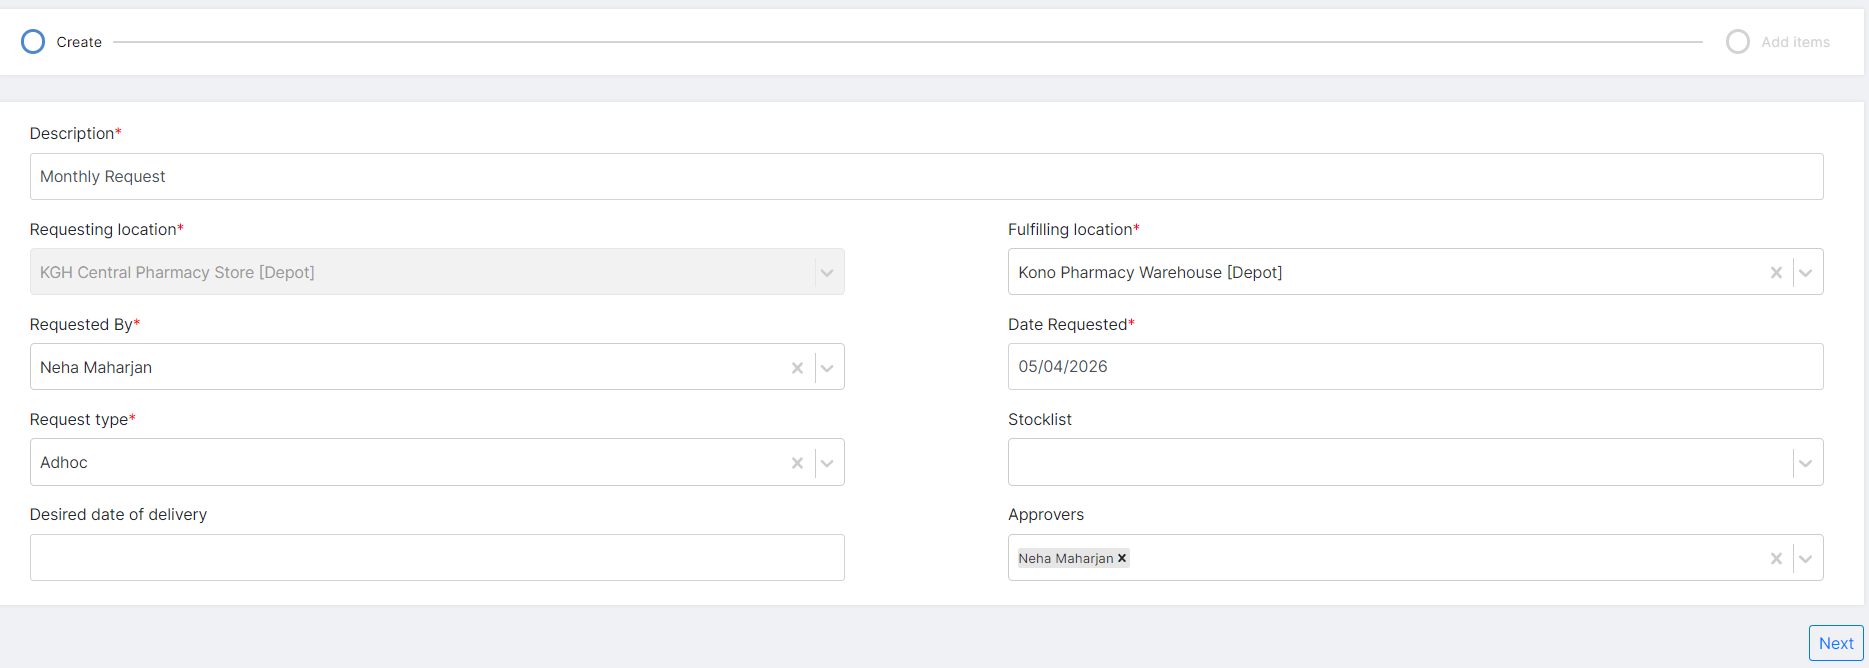
- Description (Required): Enter a brief description of the request that will help you identify the request in the future.
- Requesting Location: This defaults to the facility you are requesting for.
- Fulfilling location (Required): Enter the name of the depot you are requesting from - the location that will fulfill your request.
- Requested By: This defaults to your name.
- Date Requested: This defaults to today's date.
- Request type (Required): Select "Stock" for a regularly scheduled request and "Adhoc" for an emergency, unexpected, or one-time request.
- Stocklist: If you select "Stock" as the Request type, you can select a stocklist that will load a preset list of products in the next page.
- Desired date of delivery: Select when you would like the requested items to be delivered. Once you have filled out each field, press "Next" to go to the add items page.
- Approvers: Only appears if the Fulfilling Location requires approvals for requests. Type and search for Approver's name. Select the correct approver.


Add Items on the "Add Items" Page.
-
Requested Product (Required): Search for the product by using the product code or the product name.
When looking for a product or when you hover over a selected product, you can also see the unit of measure for that product - which tells you the total quantity that you will be receiving.
In the screenshot below, 20 hemoclips are being requested. Hovering over the product tells me that one hemoclip is actually a cartridge of 6 clips. Hence, the requestor is requesting for a total of 120 individual clips!
Without the UoM (Cartridge of 6 clips) being displayed here, the requestor might be confused if they are requesting 20 individual clips or 20 'x' packs of individual clips.
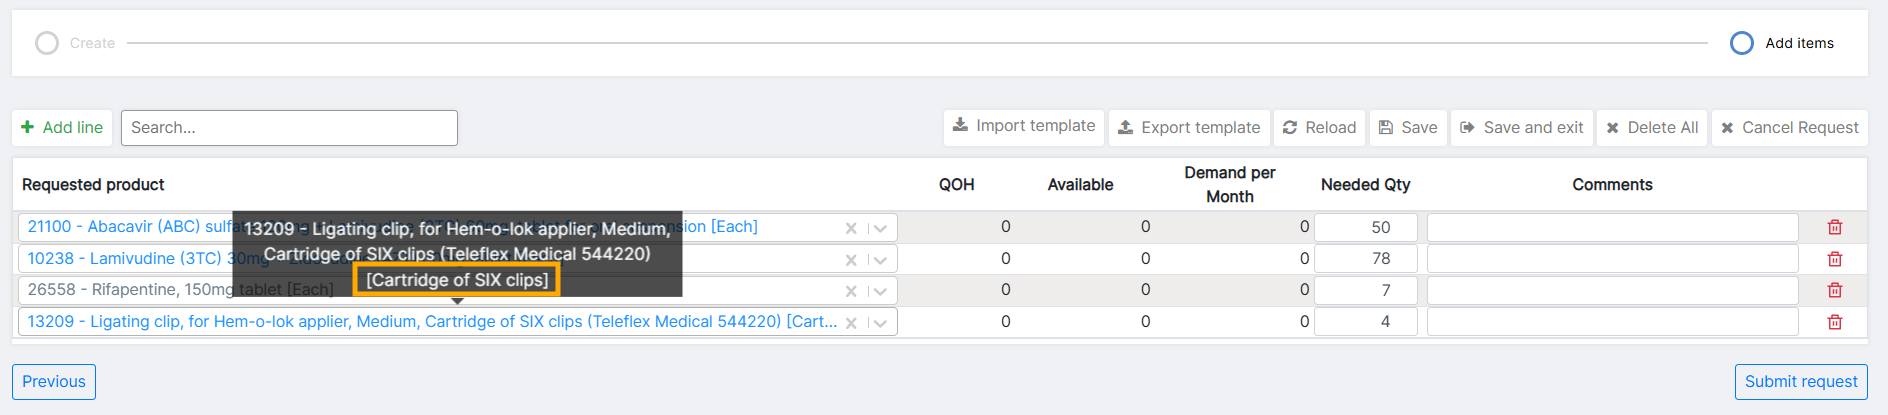
- QOH: OpenBoxes will display your current Quantity on Hand.
- Available: OpenBoxes will display your current Available Quantity.
- Demand per Month: OpenBoxes will display your Monthly Demand based on previous requisitions.
- Needed Qty (Required): Enter the qty that you need. If there is demand data for your facility, OpenBoxes will auto-calculate the needed qty based on the demand and QoH, which you can manually change.
-
Comments: Enter any comments that might be helpful for the product you are requesting.
To add additional products, click on the green "Add Line" button on the left-hand side of the screen. This will add another line below the table for you to add another product.
- Delete: To delete a line from the request, click on the Trashcan/Dustbin icon on the Right column.

When you are finished with adding all the products, click on Submit Request. If you want to save this request and return to it in the future, you can click on "Save and Exit" without submitting it.
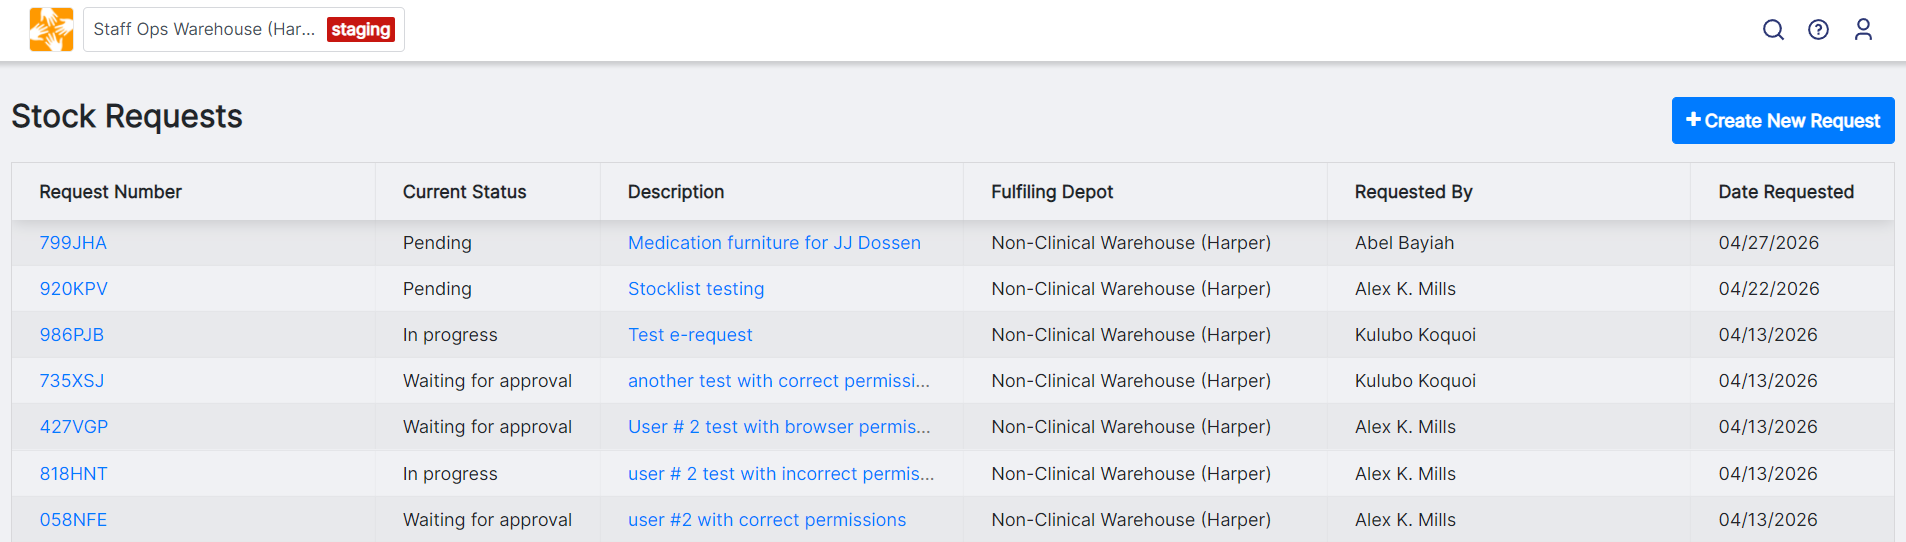
You will now be able to see the request in your Inbound Movement List Page.

For Requests that require approval, the Submit for Approval will be present instead of Submit Request. This request will first go to Approvers to Approve, then only be sent to the fulfilling warehouse.
Add Items via Import
-
In the Add Items page, click on Export Template.


-
In the Exported Template, enter Product Code, Product Name, and Quantity. Save the file.

- Back in OpenBoxes, click on Import, select the saved file.
-
To update existing lines using import, follow the above steps again: Export Template > Edit Template and Save > Import.
The only difference in the template is that existing lines will export with Requisition item ID as shown below.


Errors and Validations in Add Items Page
OpenBoxes validates for two things in the Add Items page:
- Duplicate Lines (Same product in multiple rows)
- Items with Requested Qty of 0
Openboxes first checks for duplicate lines and notify user to remove these duplicate lines. Once all duplicate lines have been addressed, the system will notify the user of the products with 0 Requested quantity.
THEN the user can proceed with the E-request.