Outbound shipment page by page - Send

IN THIS DOCUMENT
Final Review
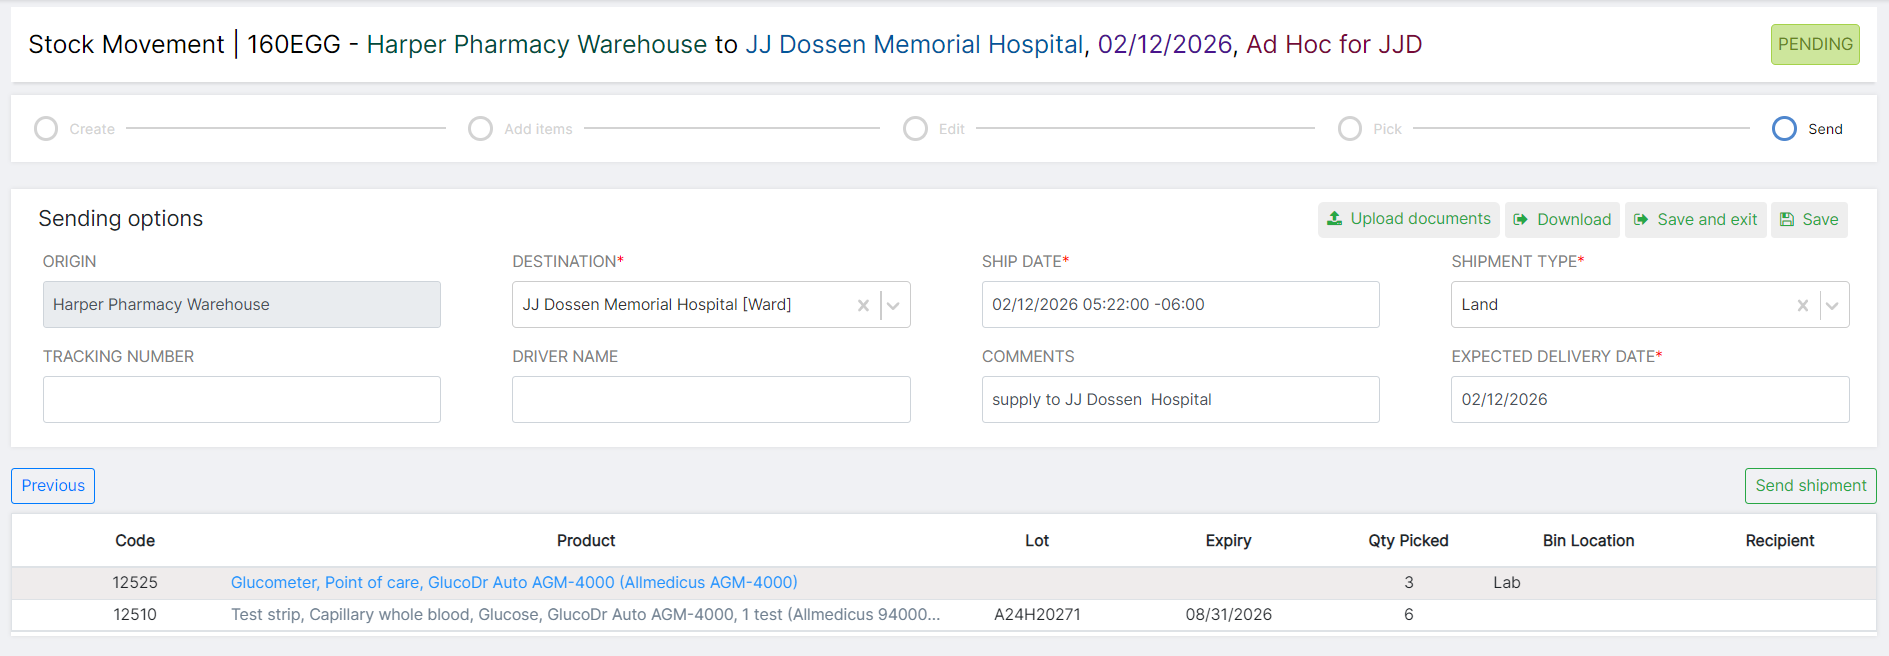
When we arrive on the send page, we can see all of the information entered for our stock movement: Origin, Destination, Stock Movement Identifier and Description, Items, Quantities, Lots, Expiry information, Bin Locations, Recipients, and Pack Levels*. This is a great opportunity for a final review before entering the shipping information.
*Pack Levels only display if Pack it turned on for your location.
Sending Options and Key Fields
Before we can send our shipment, we have to enter a few more pieces of critical information. All of the fields in the Sending Options section of the page are outlined below:
- Origin (Required): This has already been populated based on the information we entered earlier in the workflow and the location in which the stock movement was created.
- Destination (Required): This has also been populated based on our earlier input, however it can be changed if necessary.
-
Ship Date (Required): OpenBoxes will populate this based on the date/time the user started this workflow. Users can edit this field as needed.
This date is the date that the shipment left the origin location.
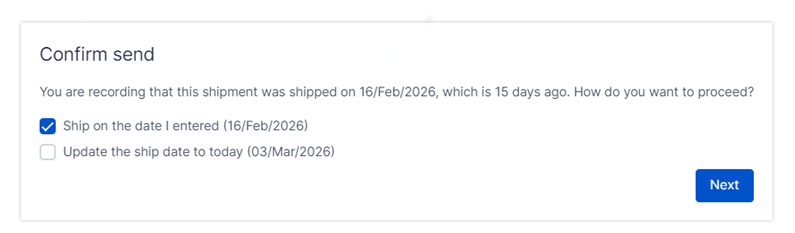
If you choose a Ship Date before Today's date, OpenBoxes will ask you to confirm the date with the following message. Simply select the correct Ship Date for the shipment.
- Shipment Type (Required): This gives the user the ability to select the mode of transport - Air, Sea, Land, or Suitcase.
- Tracking Number (Optional): This field can be very useful to add additional shipment information. For example, an air waybill number or bill of lading number could be entered here.
- Driver Name (Optional): This field can be used to identify the person who will transport the shipment.
- Comments (Optional): Users can enter any other important comments that they want to be noted on the shipment.
-
Expected Delivery Date (Required): The user must enter the expected delivery date in this field.
This date is the date that the shipment is expected to reach the Destination location.

Ship Date VS Expected Delivery Date
Ship date is the date that the shipment leaves the Origin location.
Expected Delivery Date is the date the shipment is expected to reach the Destination location.
Hence, the Ship Date cannot be AFTER the Expected Delivery Date.
Buttons
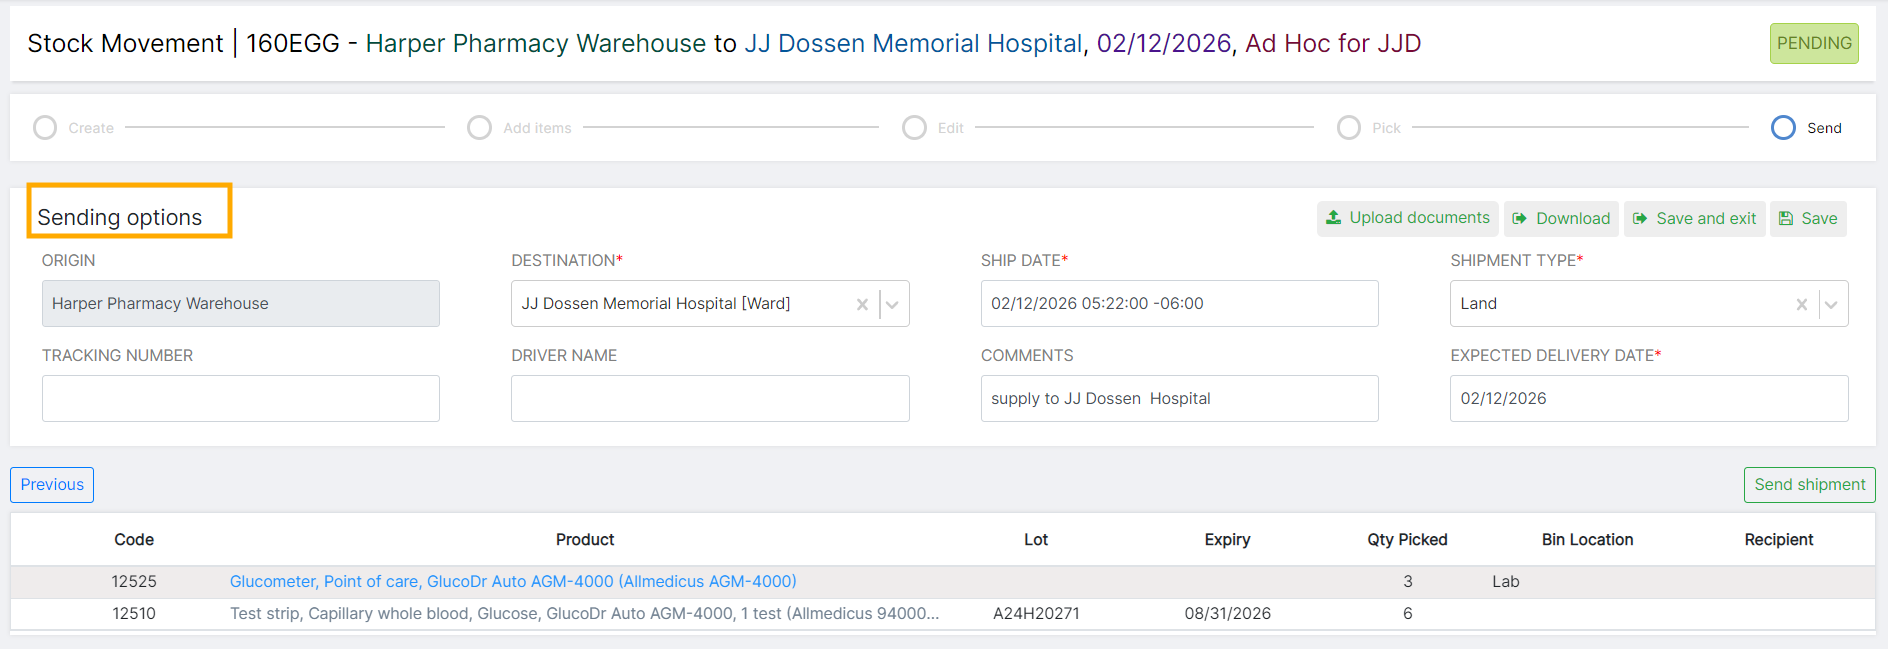
The following buttons can be accessed from the upper right side of send page:
- Upload Documents: This button gives users the ability to upload important shipment-related documents into their outbound stock movement.
- Download: This button gives users the ability to download documents that are already linked to this shipment and that will be helpful for packing, shipping, or receiving this movement such as a delivery note, a packing list, or a certificate of donation.
- Save and Exit: Selecting “Save and Exit” on this page will not complete and send the shipment. This button should be used if you want to save your progress and continue working on this stock movement at a later date.
In the screen below, I’ve entered important shipping information for all of the fields in the Sending Options area of the page.
Once you have entered all of the information, you are now ready to send your shipment. Click on the green Send Shipment button on the right and it will take you to the shipment view page. That concludes the outbound stock movement workflow.
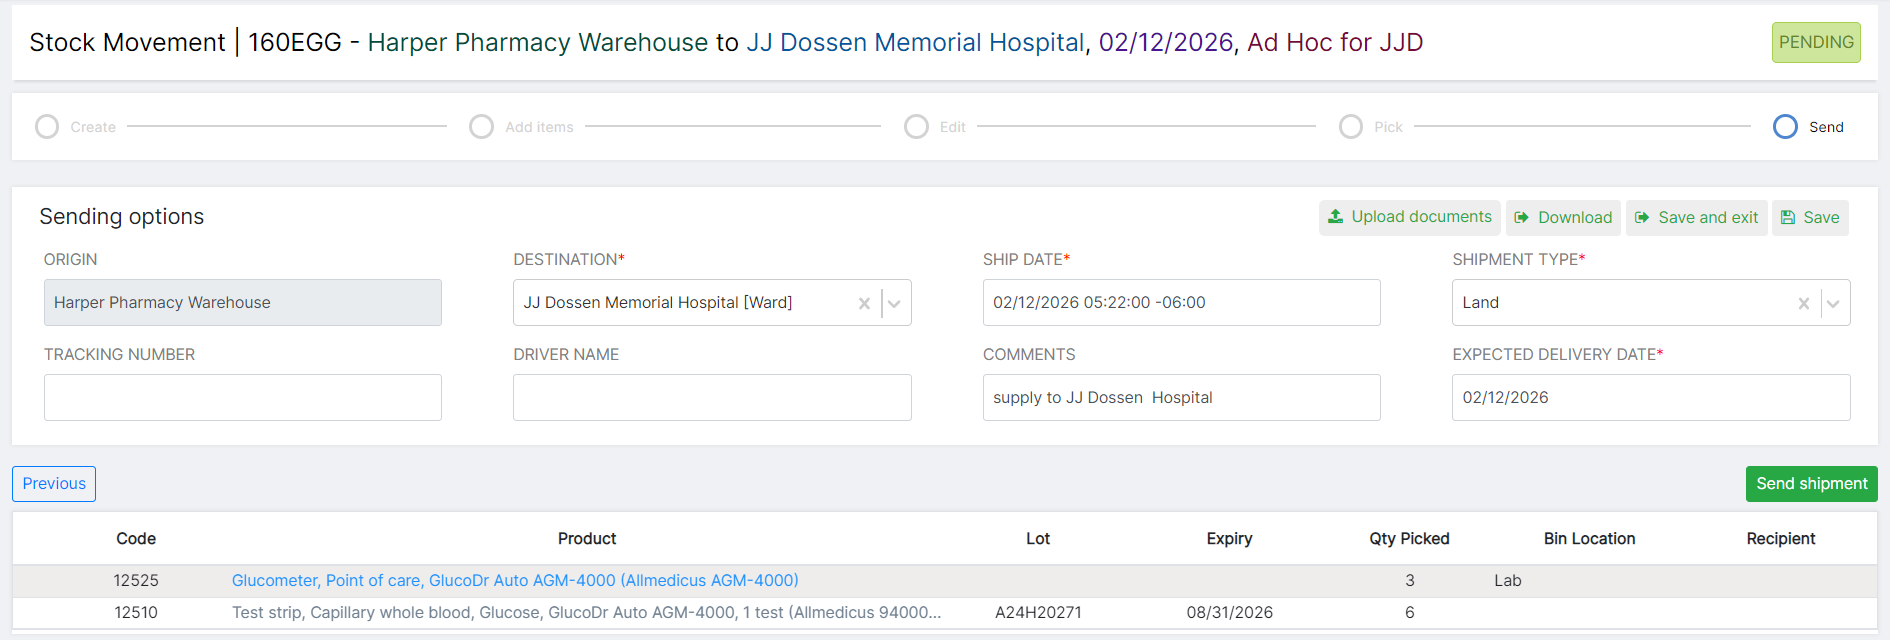
You’ve now created and sent an outbound stock movement!