Import Completed Outbound Shipment
Import Completed Outbound Shipment
In cases where a team has already completed an Outbound Shipment, users can import a full Outbound Shipment instead of following the normal Outbound Shipment steps.
See below for detailed Steps:
Create
-
On the Top Menu Bar, click on Outbound > Import Completed Outbound.

Top Menu Bar - On the Create page, add the following information:
-
Basic Details

-
Description: Enter information to help you and others reference the shipment.
You can use a PO or other reference number, a description of the items included, commentary on the purpose of the shipment, or other useful information that will help you and others understand this shipment in the future.
-
Origin: This is the departure site for your shipment. It is where you are shipping from. The Origin will autofill based on your current location in OpenBoxes.
!!Check to make sure you are in the correct location before moving forward.
-
Destination: This is the arrival site for your shipment. It’s where your items are going to and where they will be received into inventory after the physical movement of goods.
Start typing your destination into the box and select the destination when it appears. If you cannot find a location under Destination, reach out to your Administrator to create the location.
- Requested By: Select the person who requested the shipment items OR you can select a person that you want to associate this shipment to.
-
Date Requested: Enter the date on which the product was requested. Select the date from the calendar to populate this field, or type the date into the box.
Sending Options

Sending Options Fields - Shipment Type: Select the mode of transportation for the shipment (Air, Sea, Land, or Suitcase).
- Tracking Number: Enter additional helpful information for this shipment, such as air waybill number or bill of lading number.
- Date Shipped: Select the date the Shipment was shipped. OpenBoxes will default this to the current date and time.
-
Expected Delivery Date: Enter the expected delivery date in this field.
Note: The expected Receipt Date cannot be prior the Shipment Date.
-
- Select Import File
-
Click on Export template.

In the Downloaded excel file, enter the following information:

Import File - Pack Level 1 (Optional)
- Pack Level 2 (Optional): Pack Level 2 requires that there is Pack Level 1.
- Code: Enter the Product Code
- Product: Enter the Product Name
- Lot Number: If the product has stock with Lot numbers, enter the correct lot number you used for the shipment.
- Bin Location: If the same lot number is in multiple Bin locations, enter the correct bin for the lot number that you used for the shipment.
-
QTY: Enter the Qty shipped for each item.
OpenBoxes will validate the quantity you enter against the qty available in the system.
- Recipient (Optional): Enter the Recipient for each item.
- Save the edited excel file.
-
In OpenBoxes, click on Open File Dialog. Select the file that you just saved with your changes.

-
-
Click on Next to move to the next step.

Export and Import
-


Confirmation
Once you have created the shipment and Imported the items, confirm the shipment details and the items.
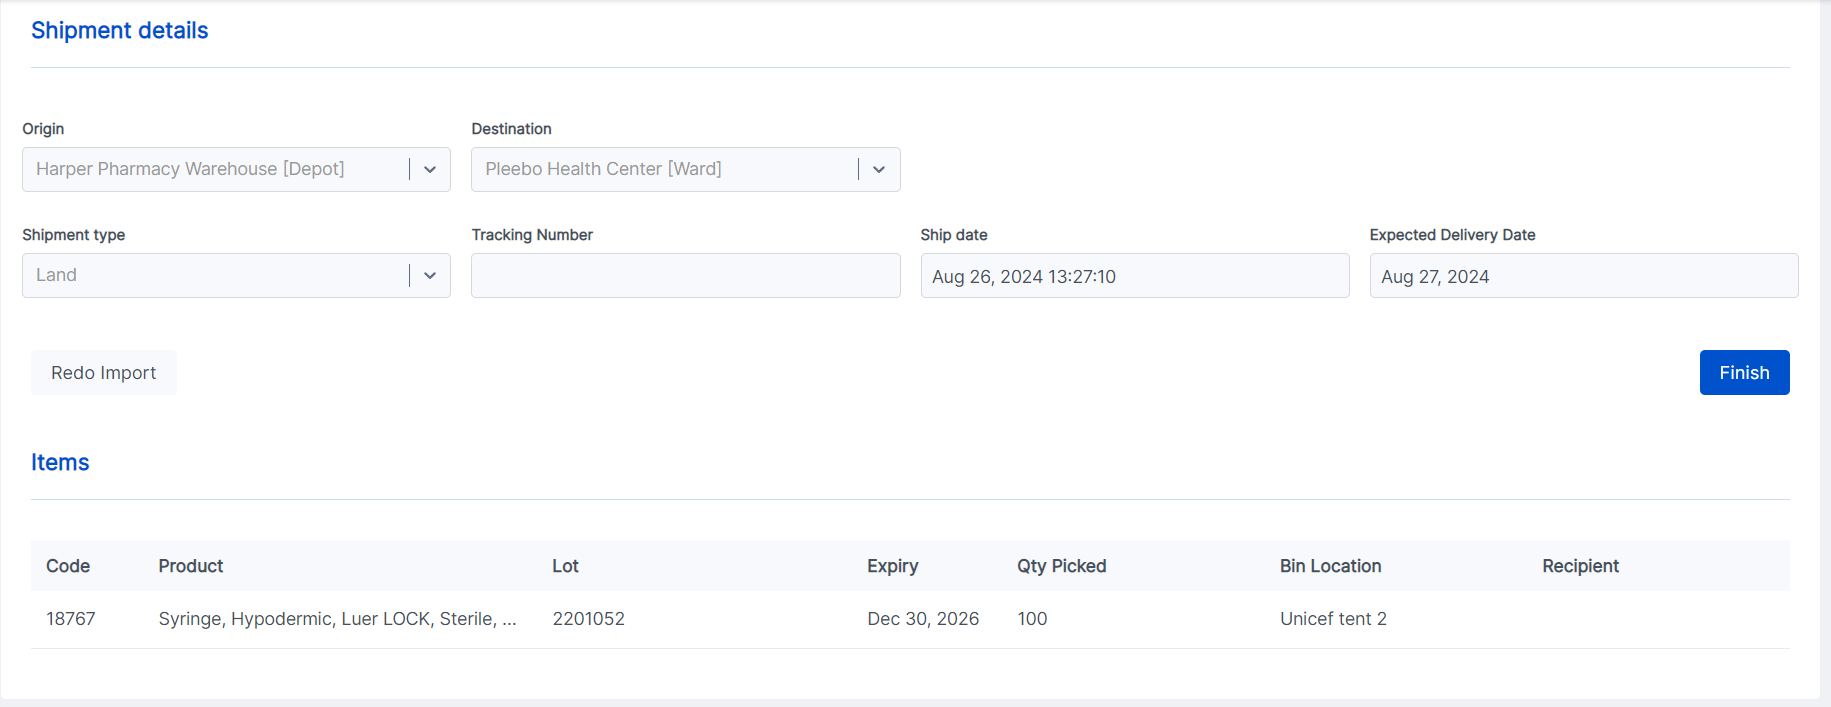
If everything looks good and there were no errors with the import file, click on Finish.
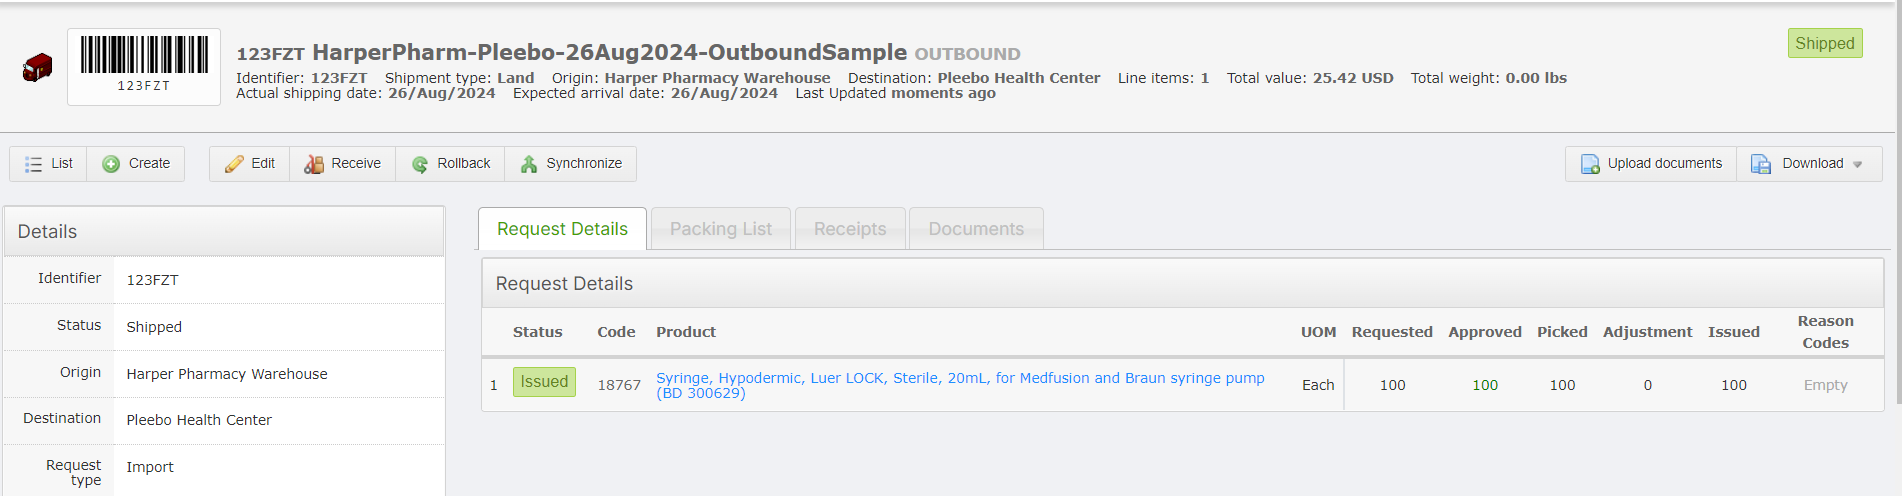
You will now be redirected to the View page of the Outbound shipment, which will be in Shipped status.
Notice that the Request Type in the Shipment View Page is Import!
Errors Blocking you from Completing the Import? Troubleshooting Tips
If there are issues with the data entered in the import file, OpenBoxes will not allow you to complete the Outbound Shipment Import without correcting the issues.
You will see any issues with the data highlighted in Red. See below some tips to resolve the errors!
-
Click on Red option filter to only see the products with issues.

-
Click on the tooltip to read description of the issue.

-
Check if you missed to add the Lot# and/or Bin location for the items.
Remember: You must enter Lot number if the product has one & if the same lot number is in multiple bin locations, you must enter the correct bin location.


If the error is regarding Lot # or Expiration Date, click on the Tooltip on the Right hand side to view available Lots with Expiration Date. Correct the data in your import file accordingly.

- If the error is not related to data entry in the import file, it may be related to transactions entry in OpenBoxes. For example, the item was received into the incorrect bin location in the system. In this case, you may correct the item bin location in OpenBoxes first and retry import.
- Once you correct errors for each line, click on Redo Import to re-import your file!